If you are using WordPress, your theme might give you the option to add a favicon to your website but that’s might not be the right way to add a favicon. You may see the favicon of your blog on your browser but still, it doesn’t mean you successfully added a favicon to your website. You can check whether you did it or not by visiting:
yourwebsite.com/favicon.ico
For instance when I visit “greenide.com/favicon.ico”, I will see something like this:
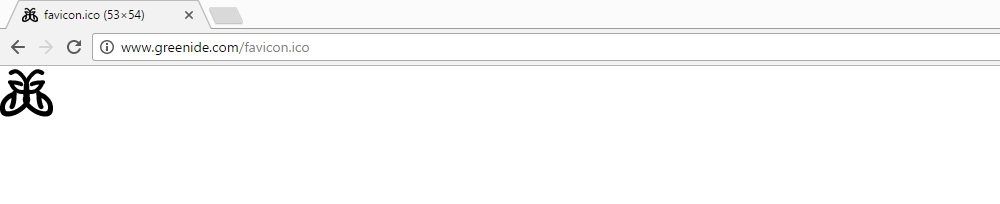
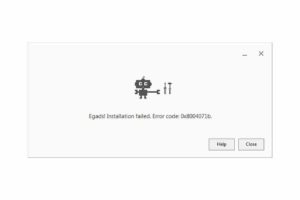
If you can see the favicon of your blog, you don’t need to read the rest. But if you see nothing or get an error, keep reading.
Having a favicon is a part of branding and people see it every time they visit your website. Probably, the only place you see the favicon of your blog is your browser’s tab but there are other services like RSS readers, social media managers, email services etc. grab the favicon from the website. If they can’t grab the favicon from the specific link of your website, which is “yoursite.com/favicon.ico”, they simply show nothing and it looks very unprofessional. Before we start, remove favicon from your WordPress site. I can’t give the details on how you remove it because every theme has a different interface and you can remove it from the place you added it in the first place.
PS: This tutorial is for WordPress sites, I am not sure if it also works for other services than WordPress.
1. Connect And View Your Website Files Using FTP
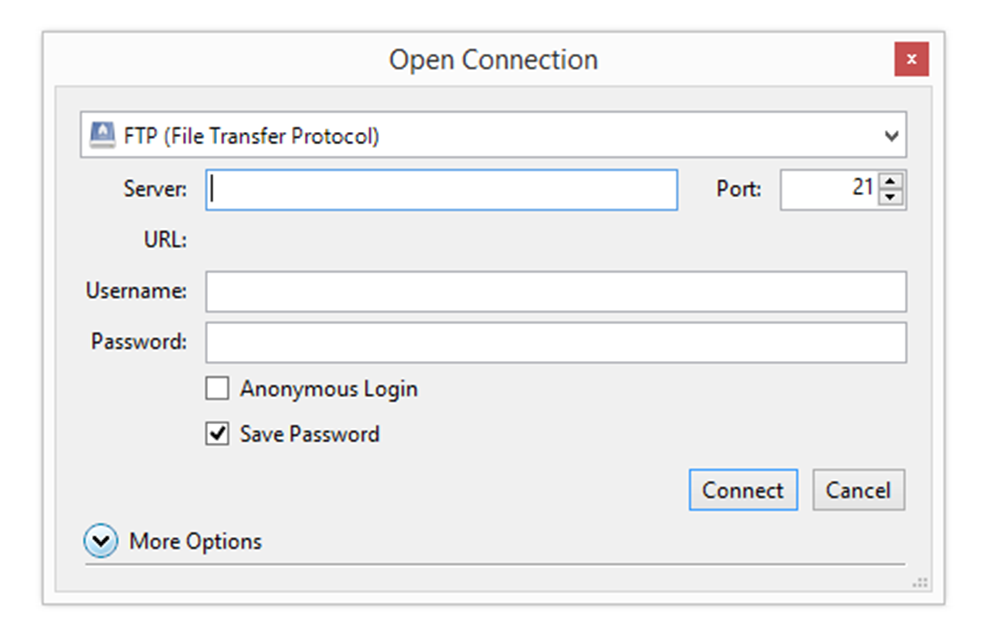
Some hosting companies provide FTP interface so you can connect and view your website files using your cPanel. Otherwise, you need to use FTP client like Cyberduck or Filezilla. I am using Cyberduck because it is much faster but Filezilla is more popular so it’s up to you.
2. Upload “favicon.ico” To Website’s Main Folder
The favicon you’ll upload must be in .ico format – not .jpg or .png otherwise it won’t work. You can use Photoshop to make a favicon or other services you can easily find using Google. Dimensions of the favicon must not exceed 50 pixels for width and height.
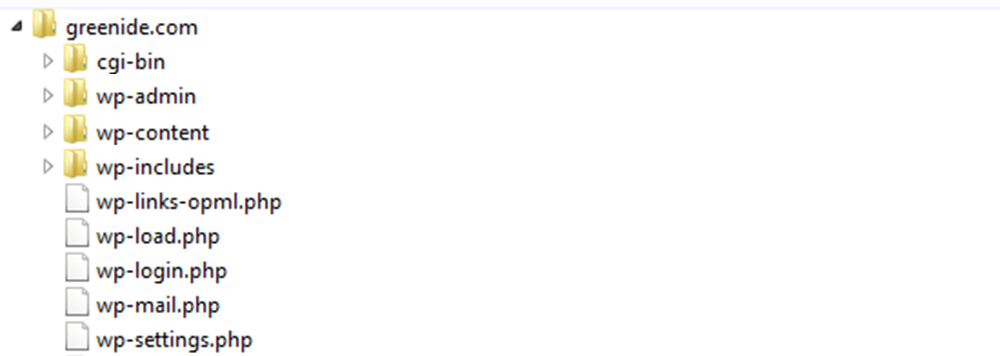
Name of the main website folder can vary. Bluehost use “public_html” while Dreamhost use “yoursite.com”. Either way, the main website folder contains specific folders like “wp-admin”, “wp-content” and “wp-includes” so you can locate which folder is the main website folder.
3. Upload “favicon.ico” To Your Theme Folder

Now, upload the same “favicon.ico” file to your theme folder. You can locate your theme folder by:
“Main Folder” -> “wp-content” -> “themes” -> “Your Theme Name”
Your theme folder also contains specific folders like “images”, “includes” and “wp-admin” so you can locate the right folder.
There can be multiple themes uploaded to your website. In that case, you will see multiple folders within “themes” folder. You should upload the favicon to the active theme you are using. You can also delete other themes you’ll not use to make things easier.
Once you’ve done all three steps above, clear the cache of your browser and visit “yoursite.com/favicon.ico”. If you still can’t see your favicon, check the every step above. The most common mistake is uploading the “favicon.ico” to a wrong folder so be sure to upload the favicon to only “Main Folder” and “Theme Folder” of your website.